
How to record a new workflow.
In this page you will capture a workflow once, so it can serve again and again. Keep your key presses clean, your screenshots meaningful, and your naming consistent.
howto/record/ (or any folder you prefer) and update the src attributes below.
Record a new workflow
Create a "golden" recording for a model family, then reuse it across the bench.
Focus the AutoKeyboard window
User left click on "AutoKeyboard (window)" in "AutoKeyboard".
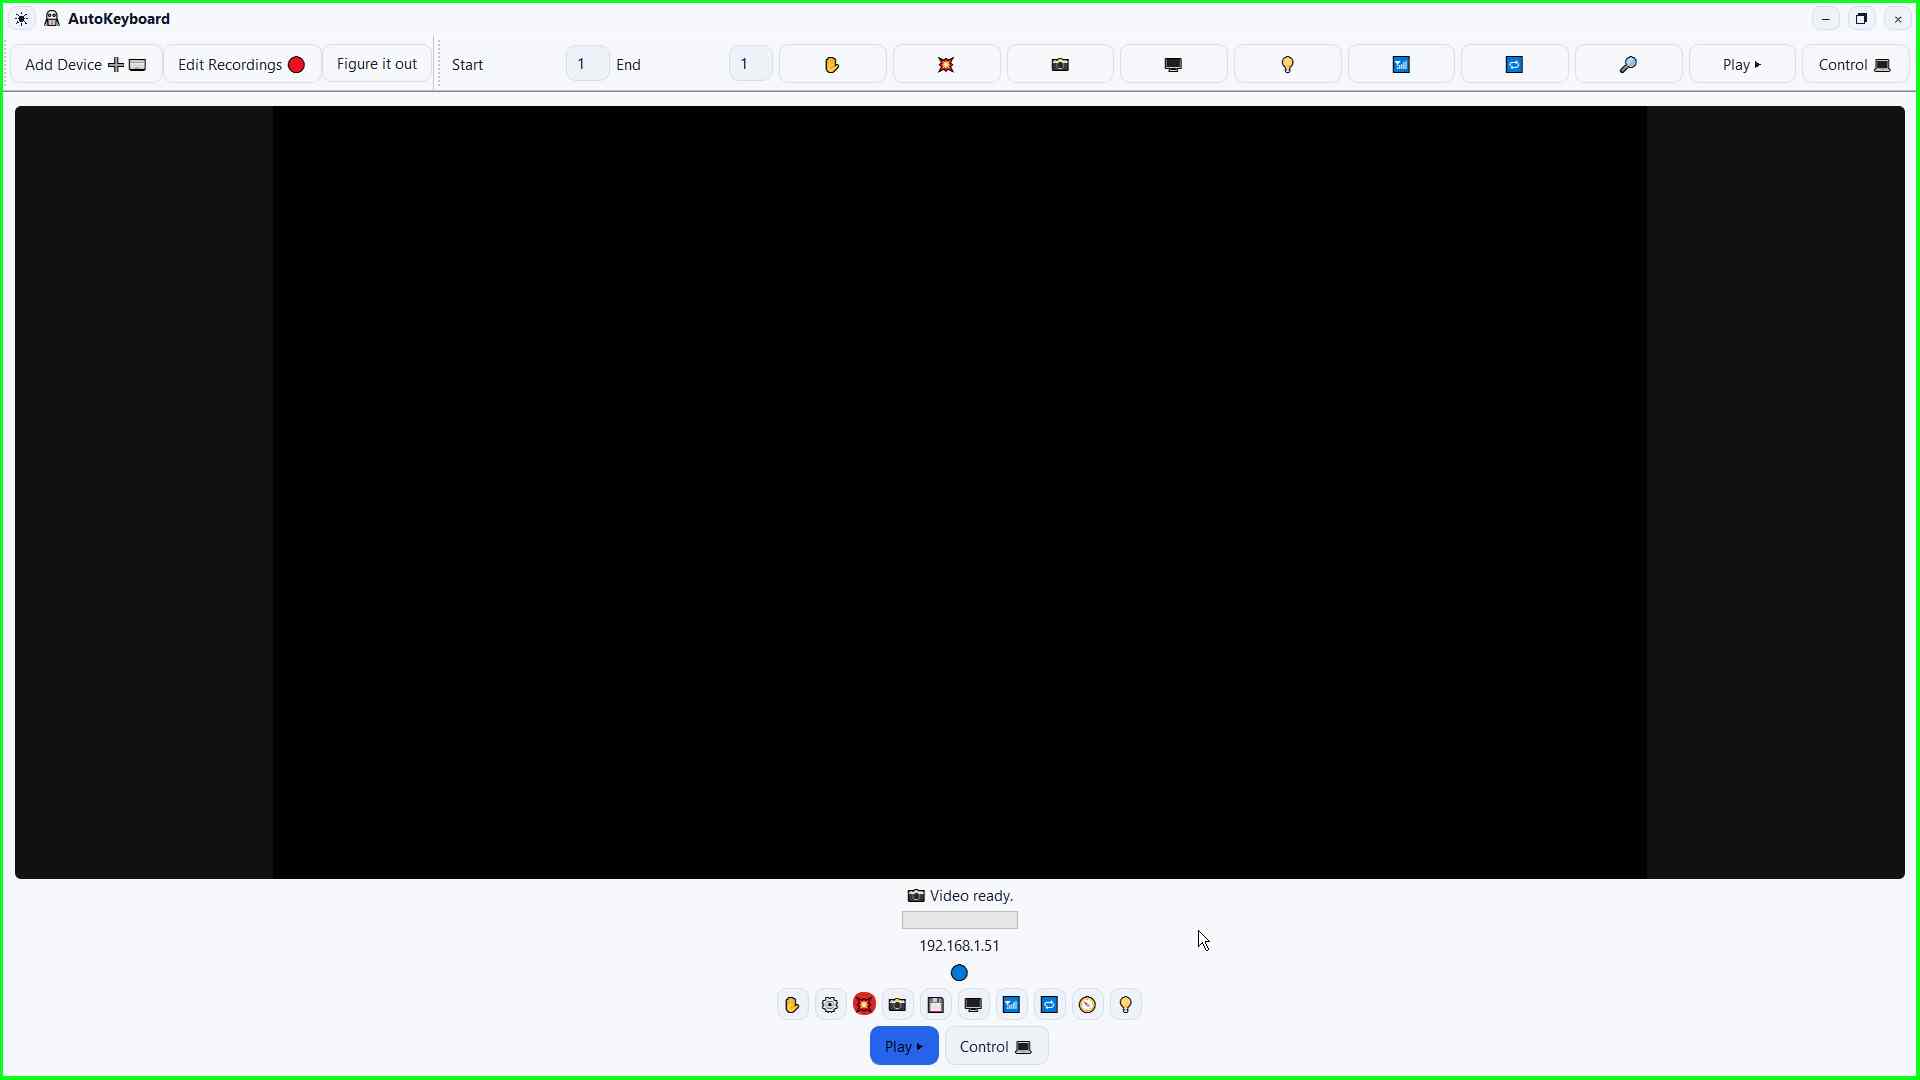
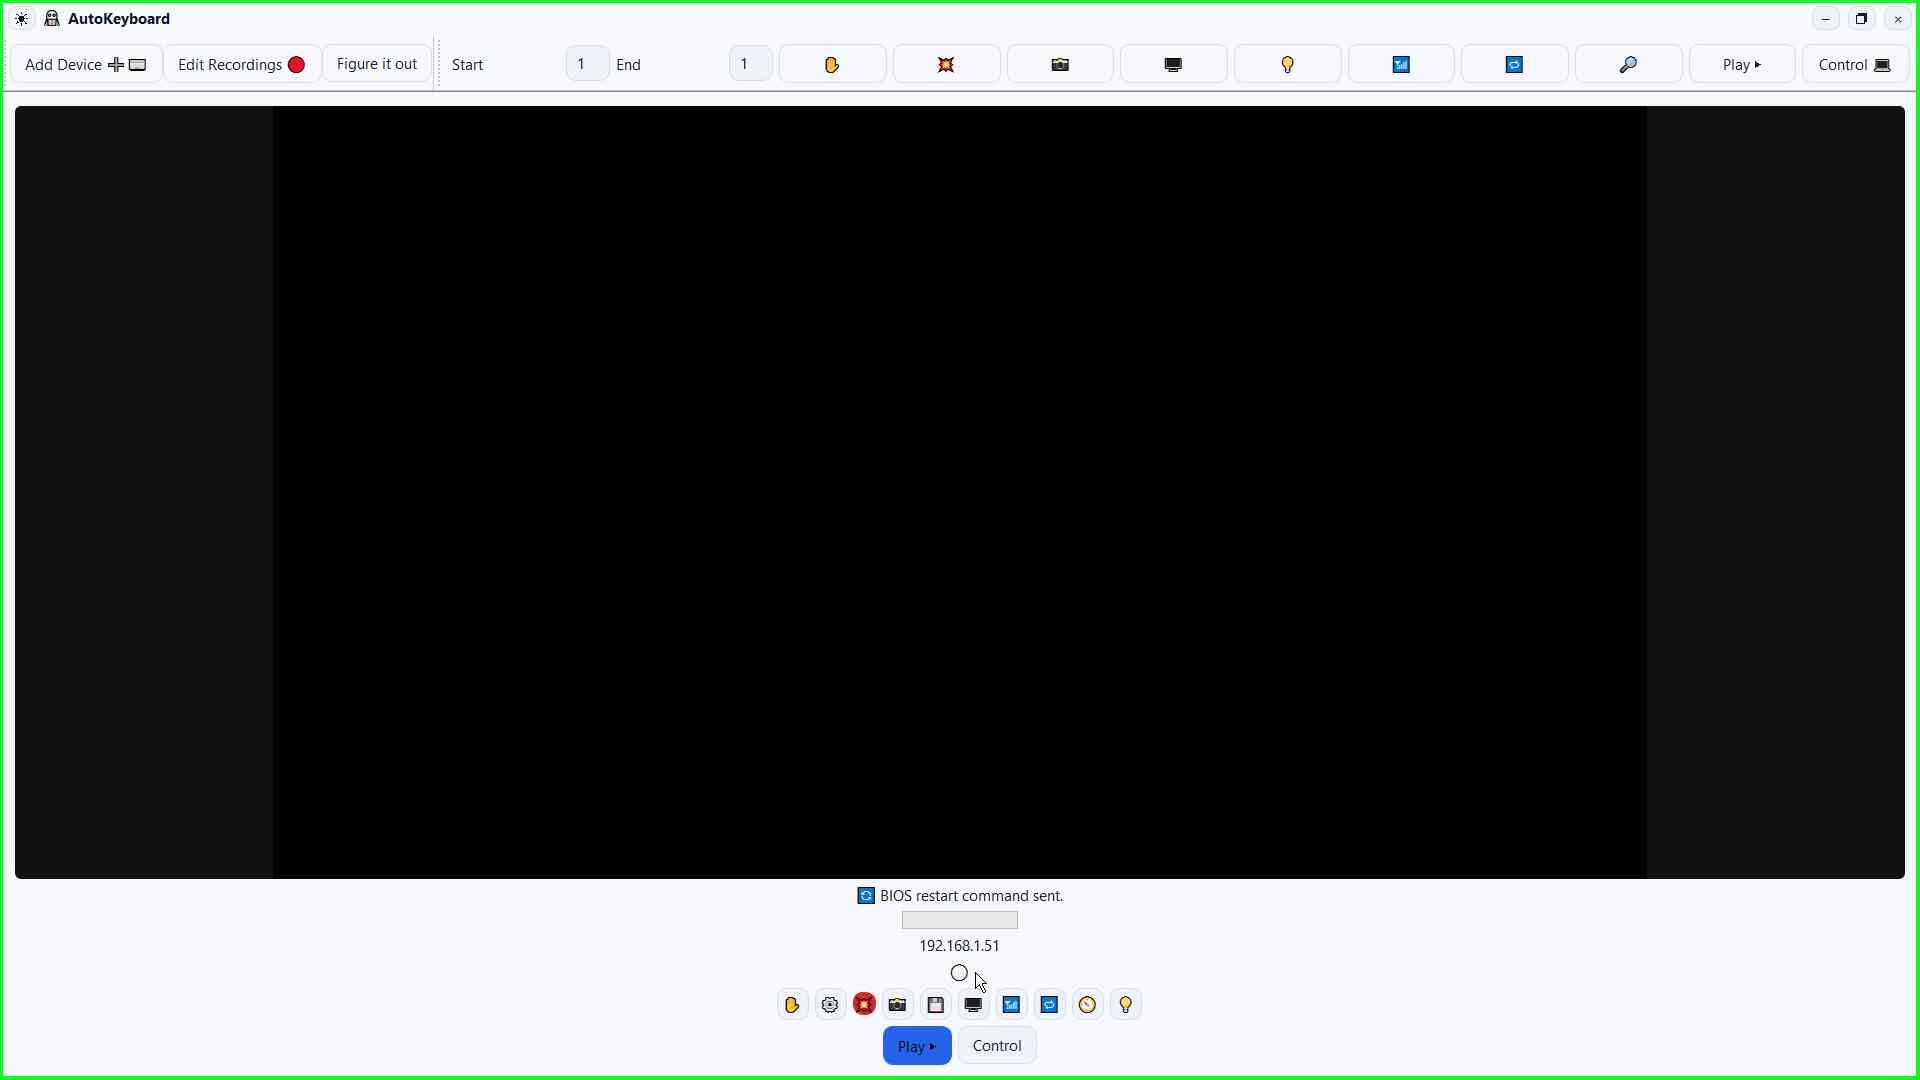
Click Control 💻
User left click on "Control 💻 (button)" in "AutoKeyboard".
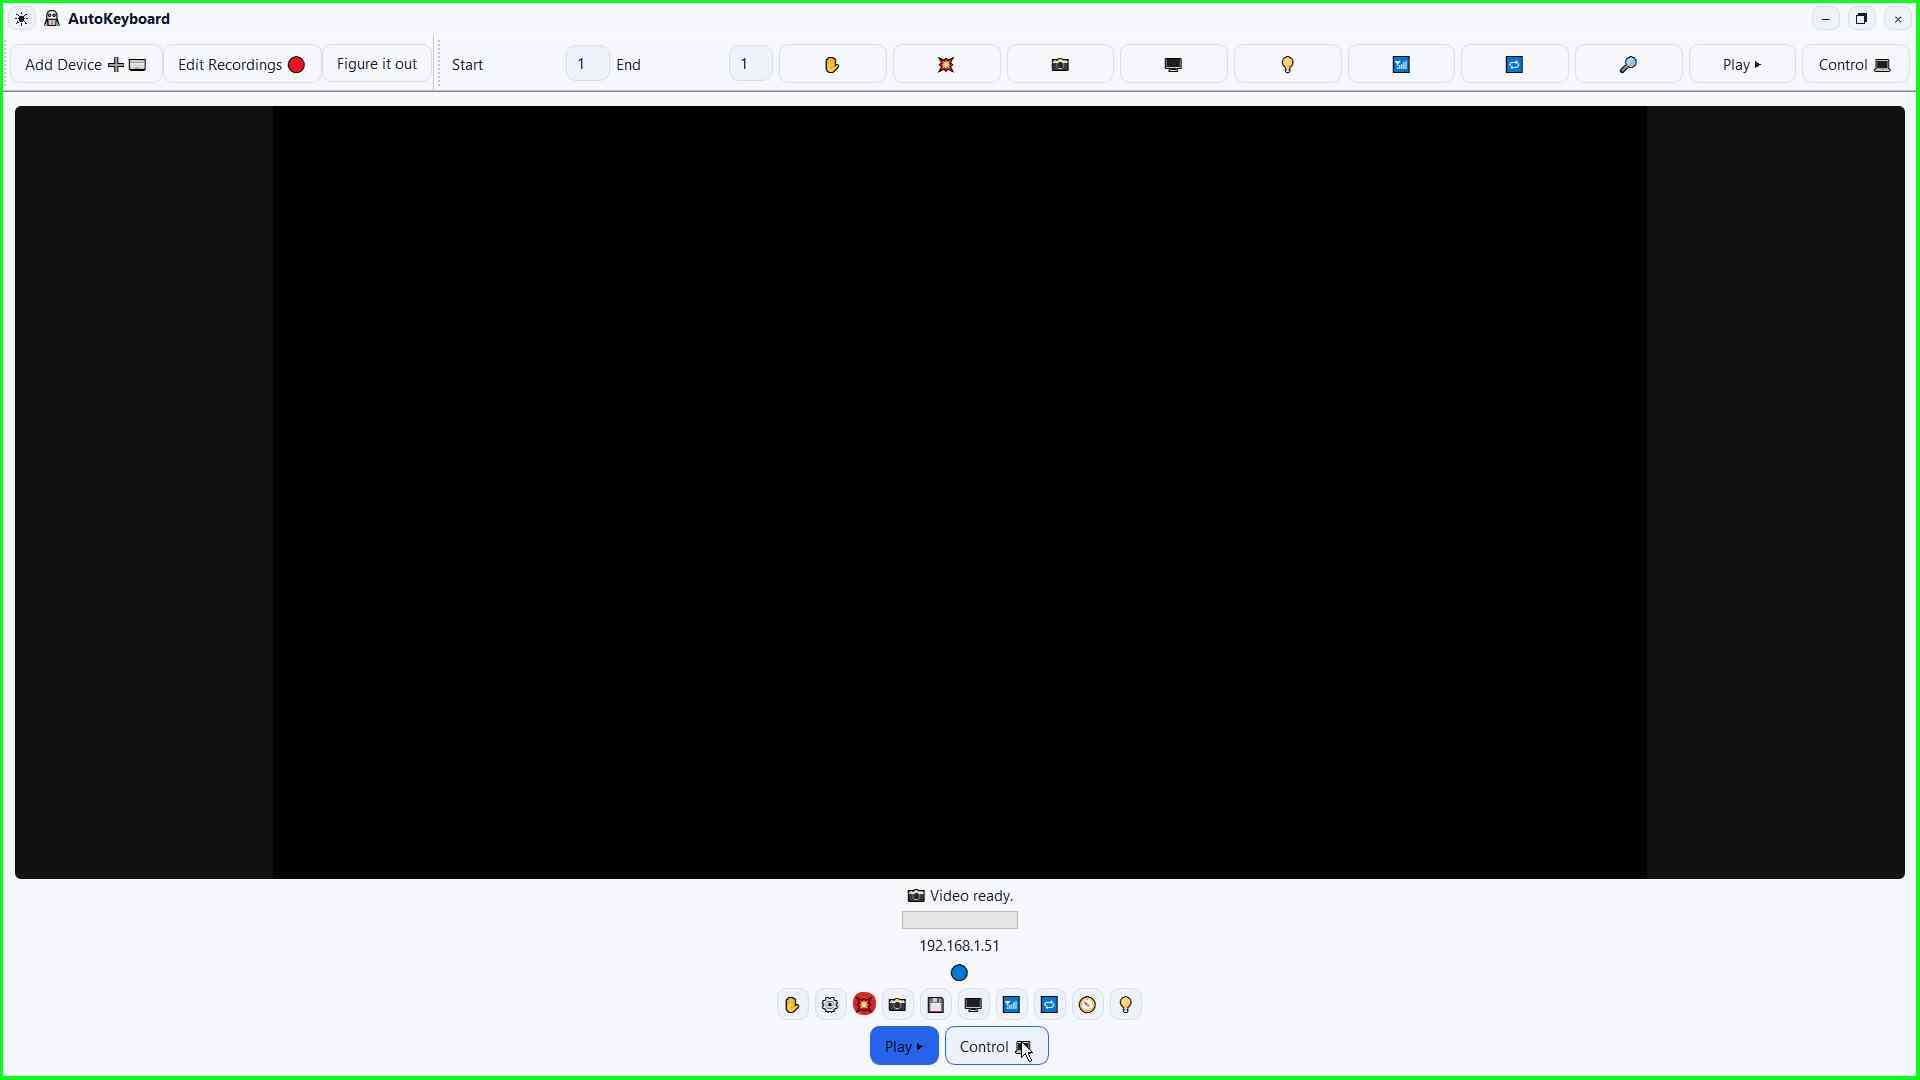
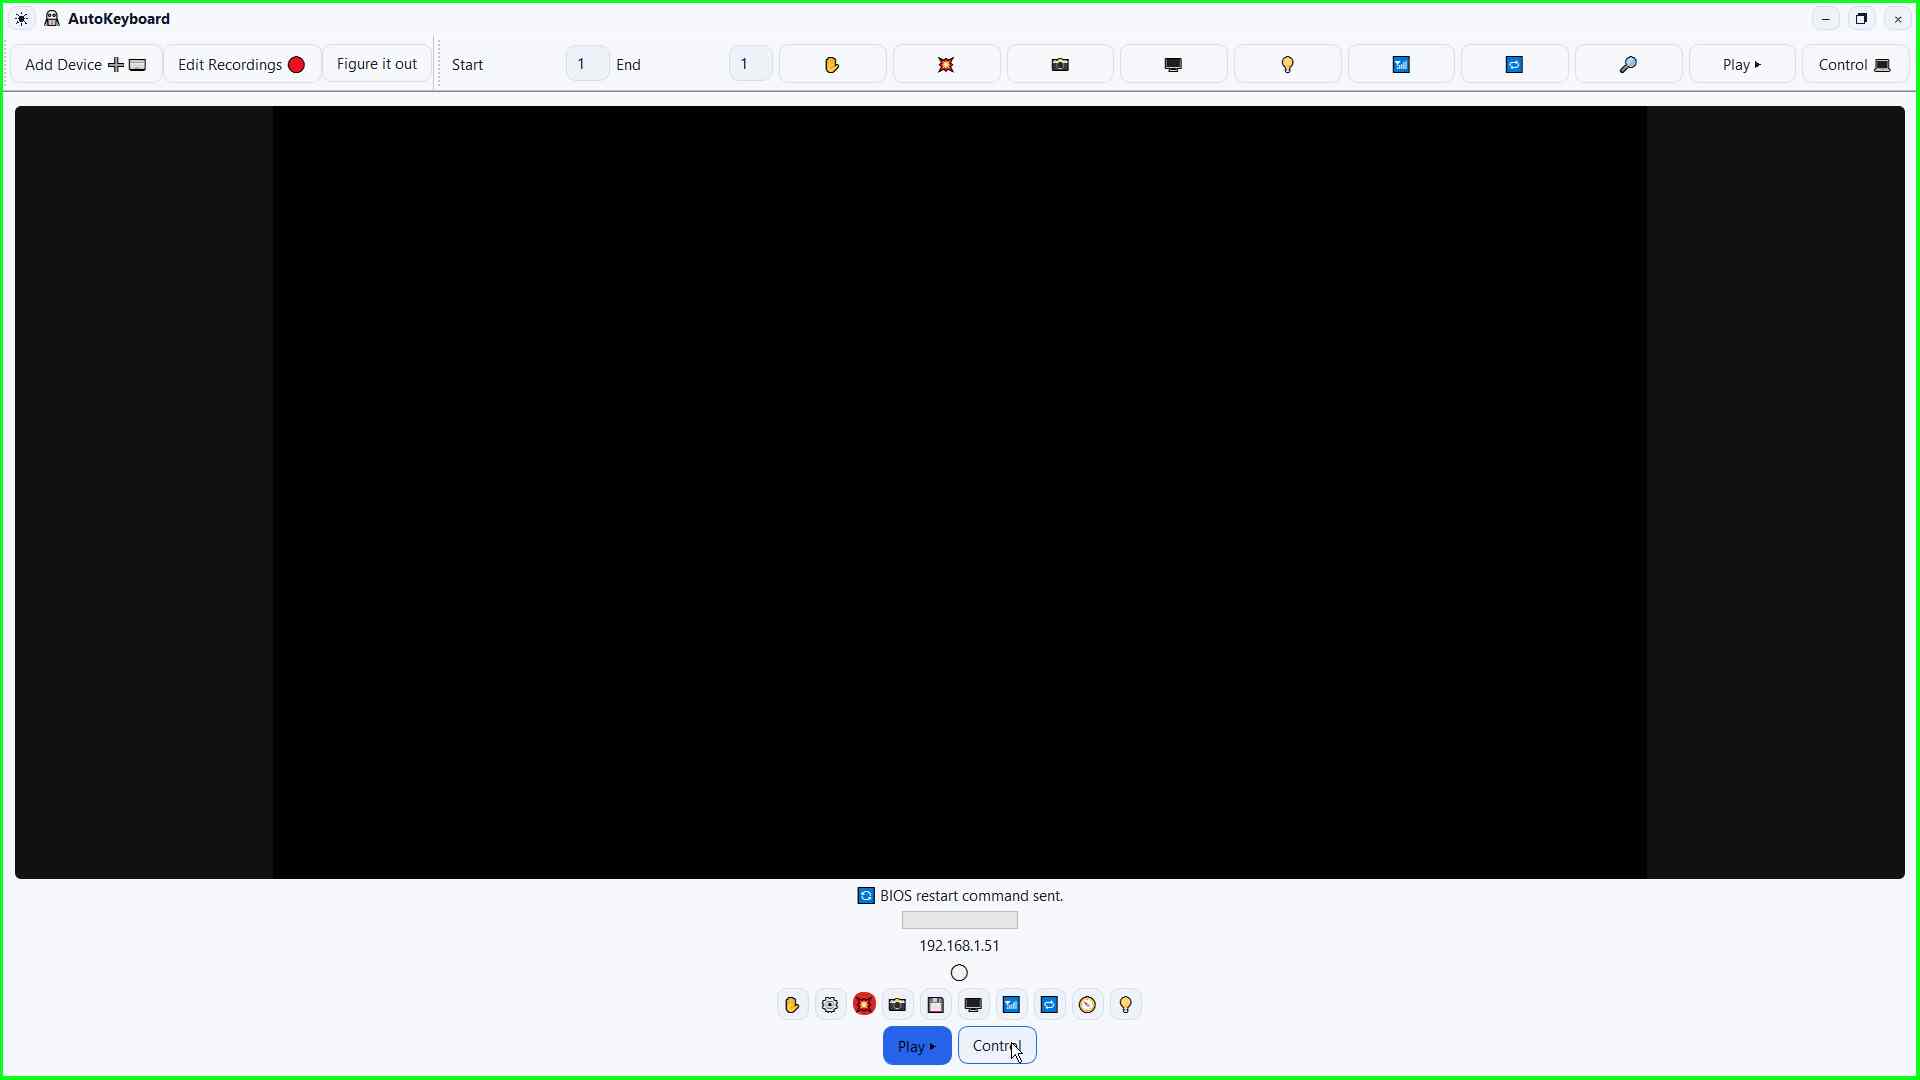
Click Stop
User left click on "Stop (button)" in "AutoKeyboard".
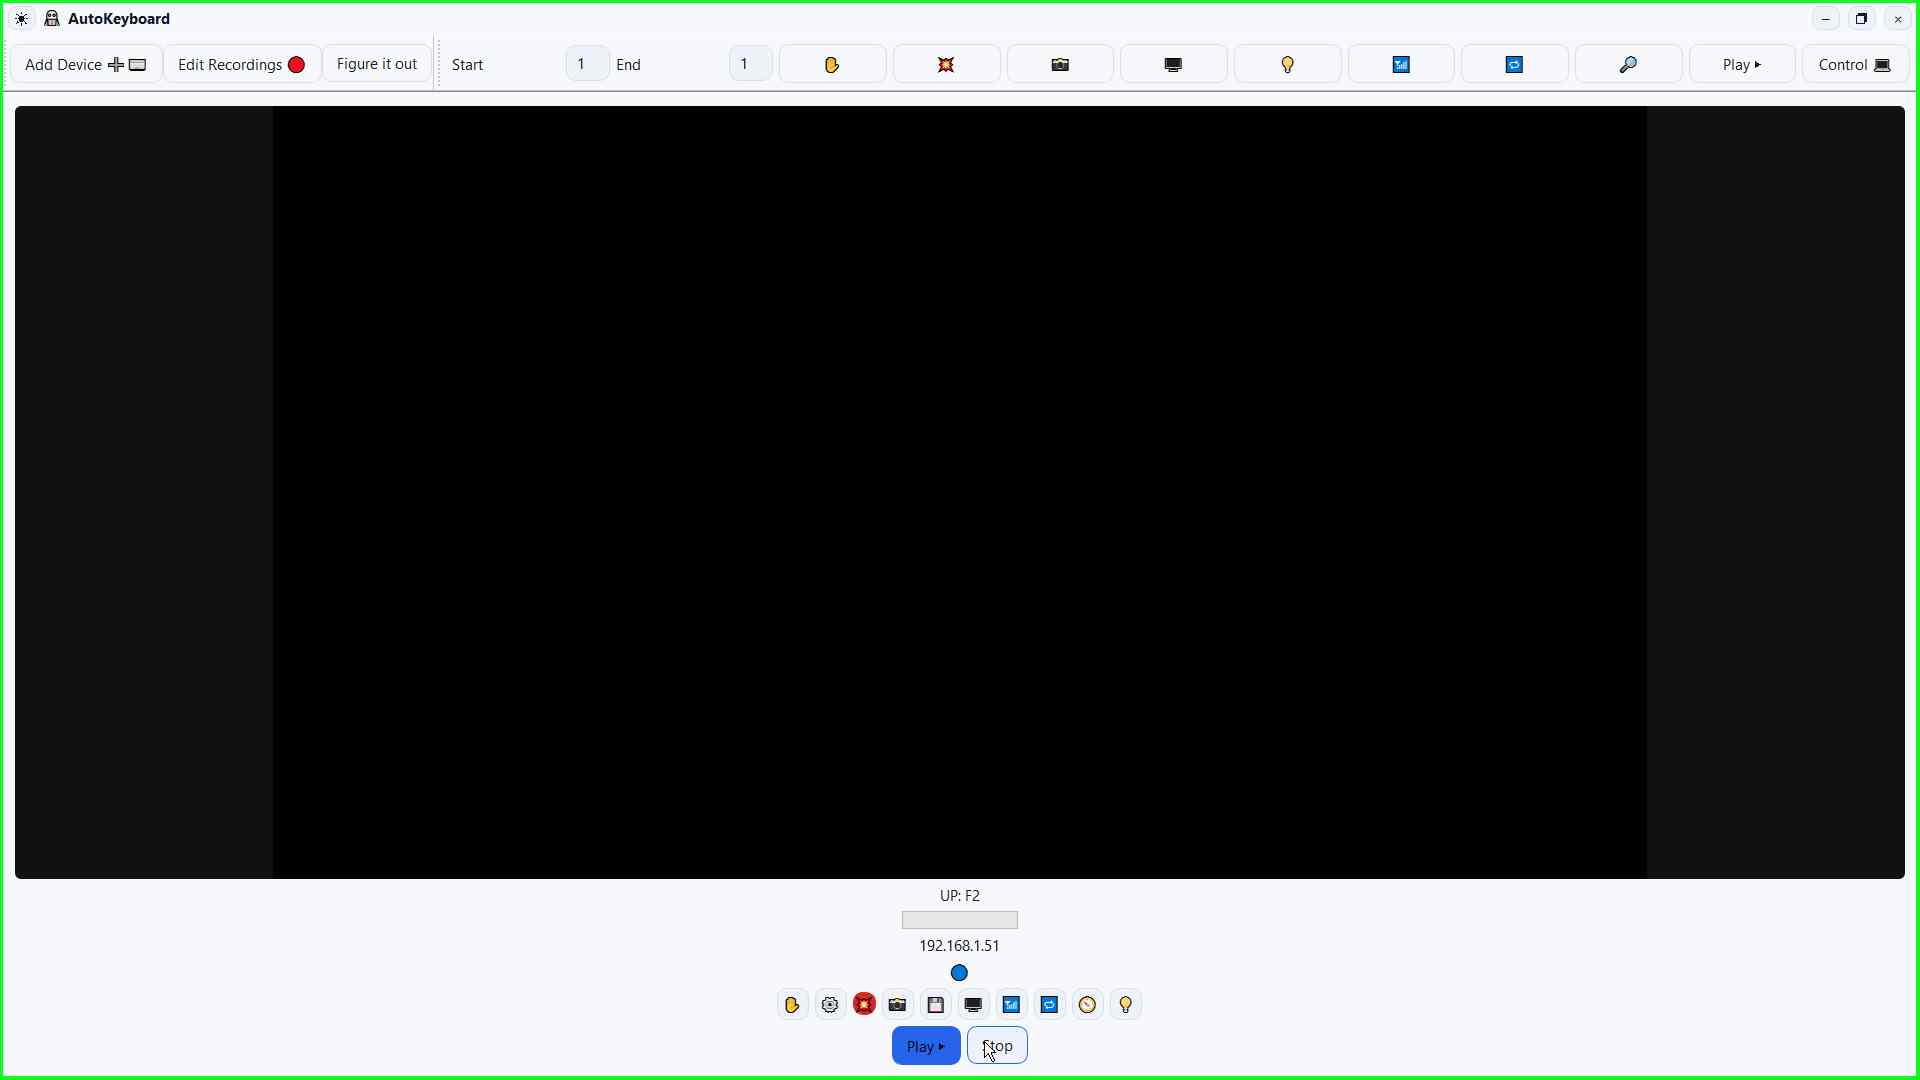
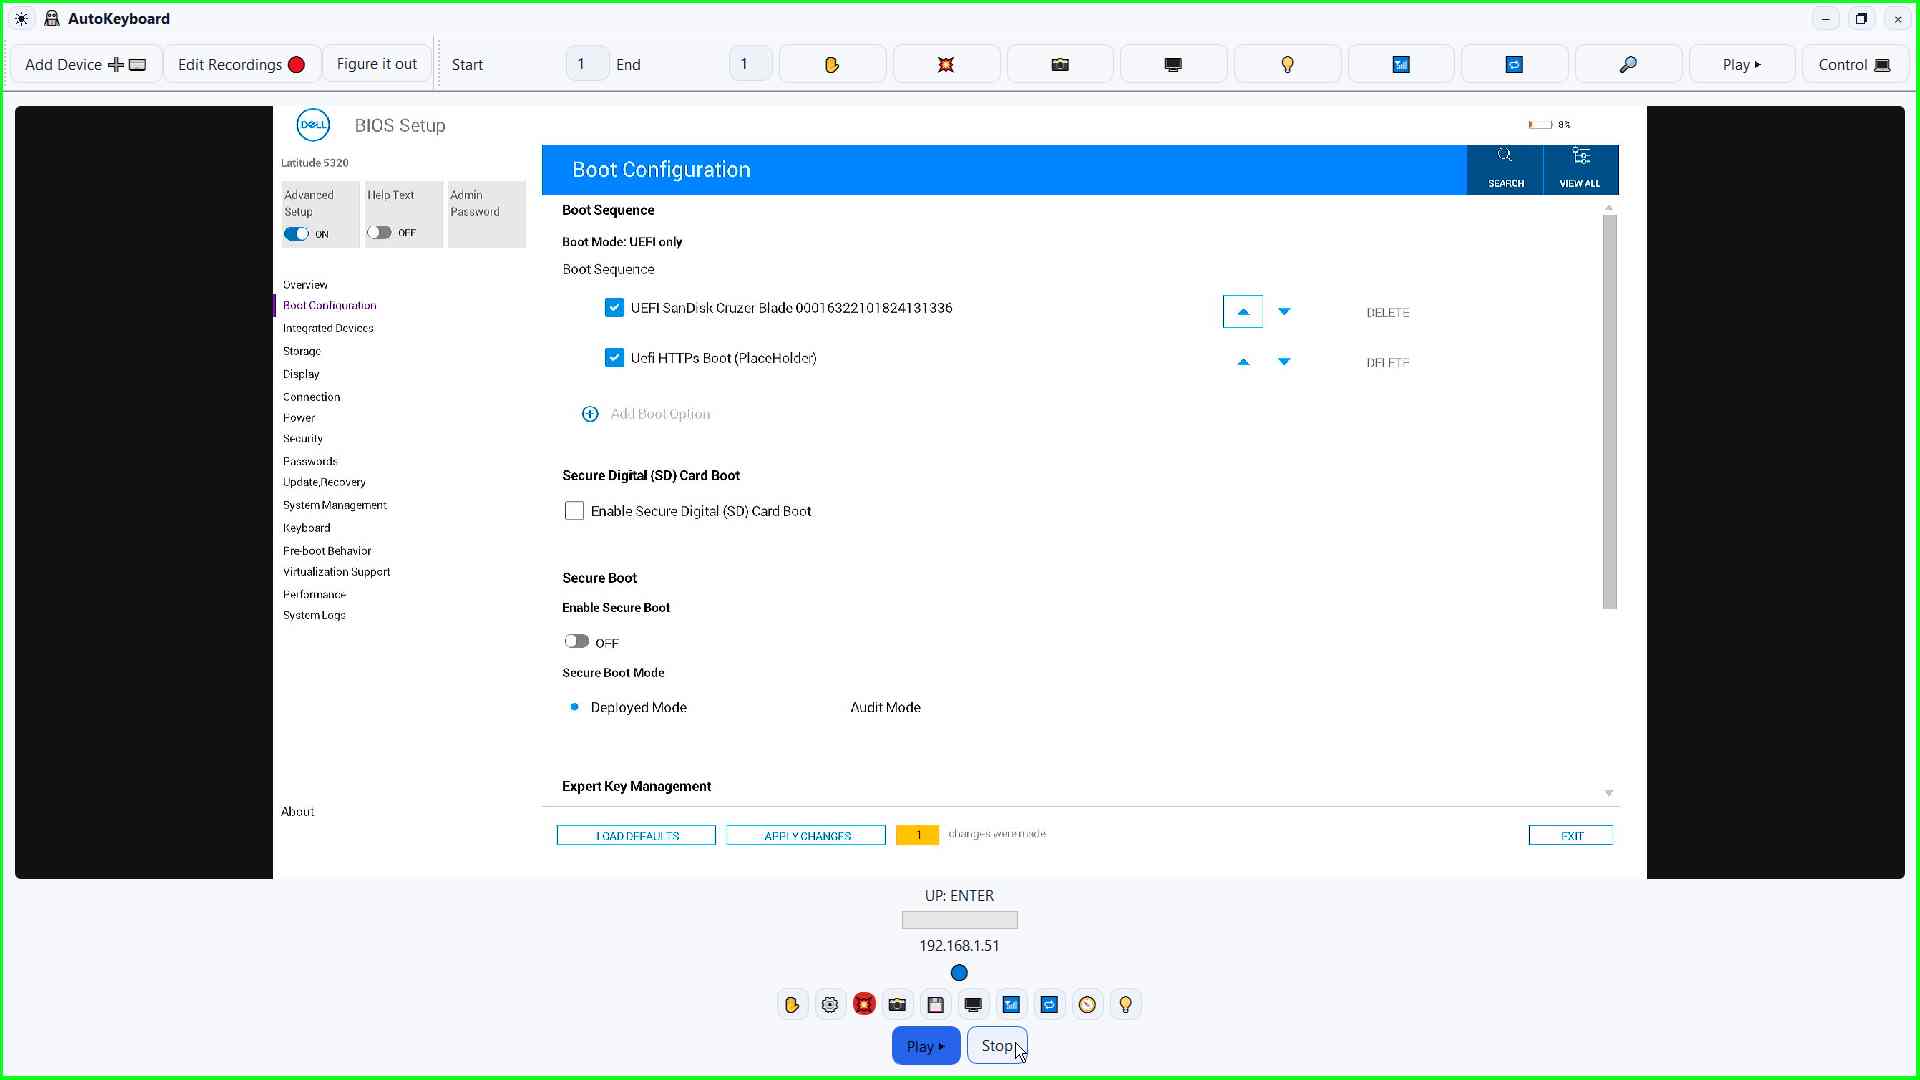
Click 💥
User left click on "💥 (button)" in "AutoKeyboard".
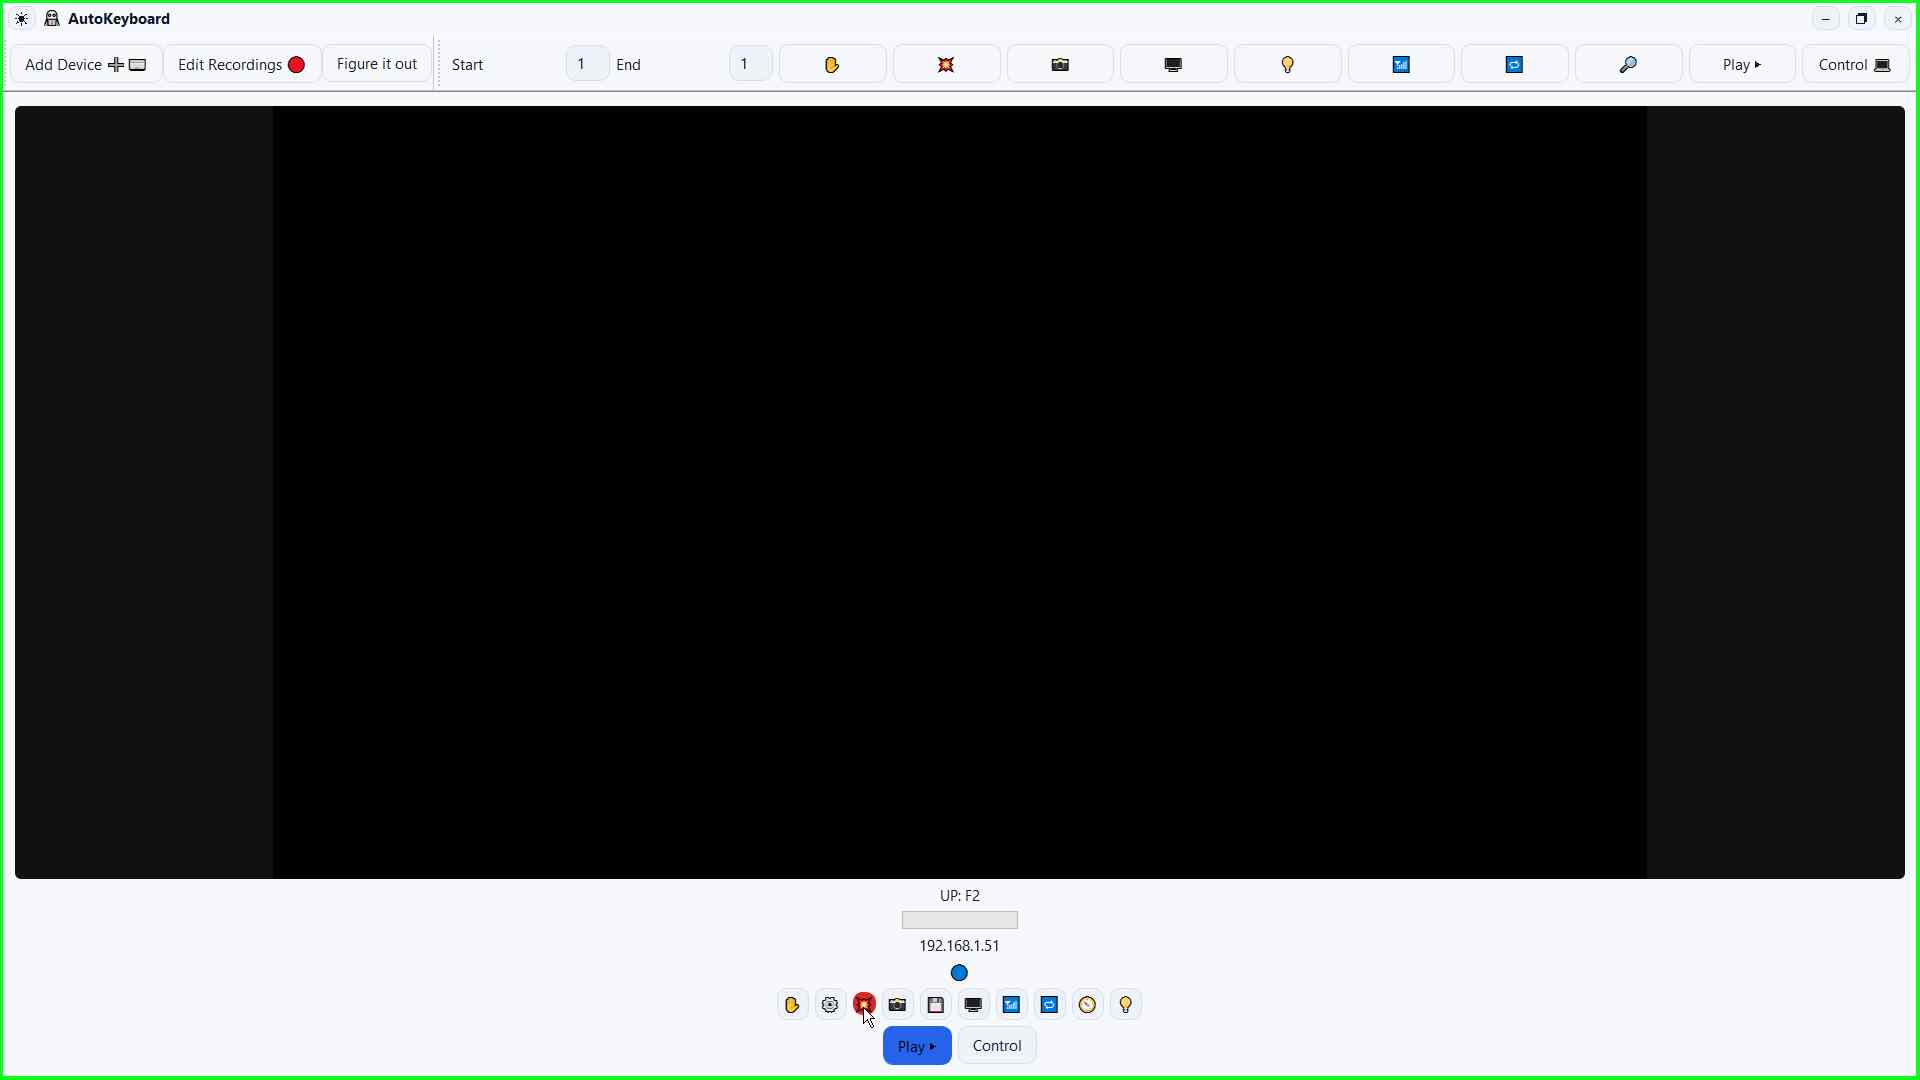
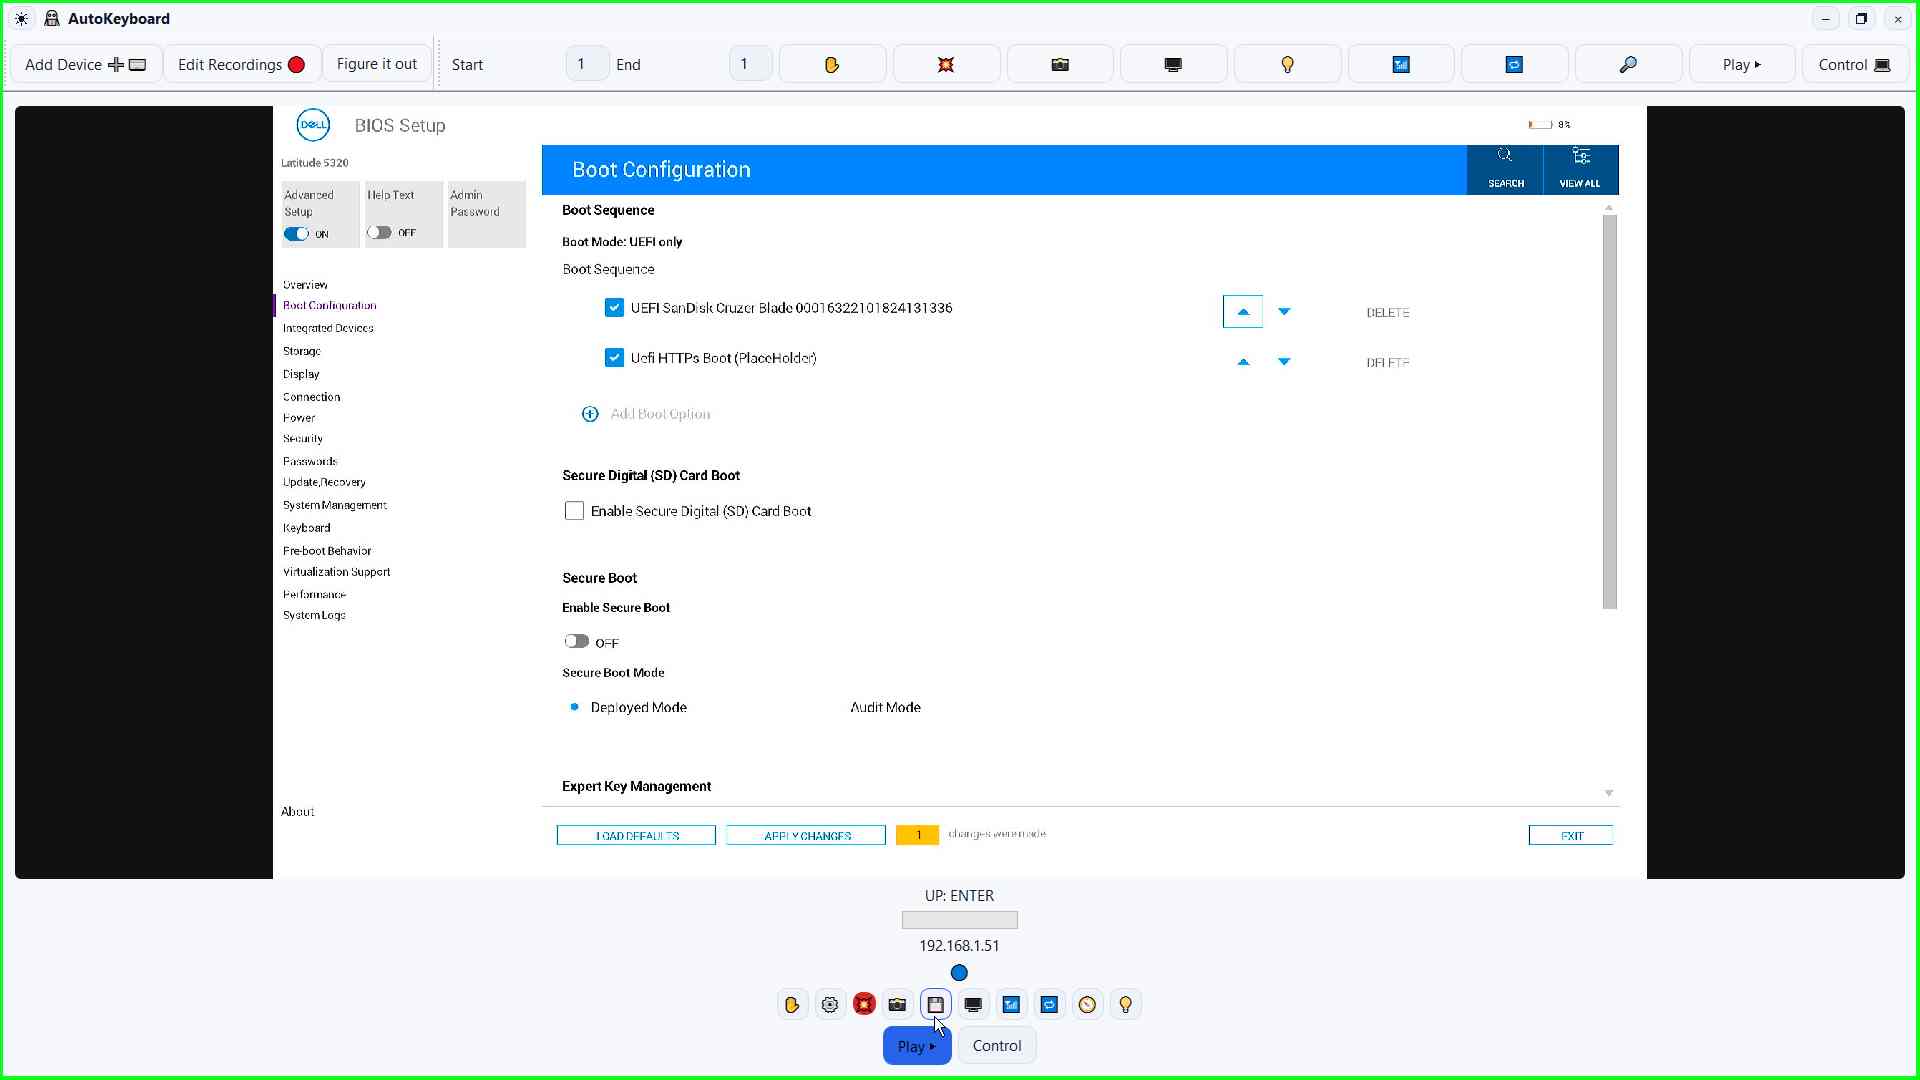
Click ⚪
User left click on "⚪ (text)" in "AutoKeyboard".
Click Control
User left click on "Control (button)" in "AutoKeyboard".
Click Stop
User left click on "Stop (button)" in "AutoKeyboard".
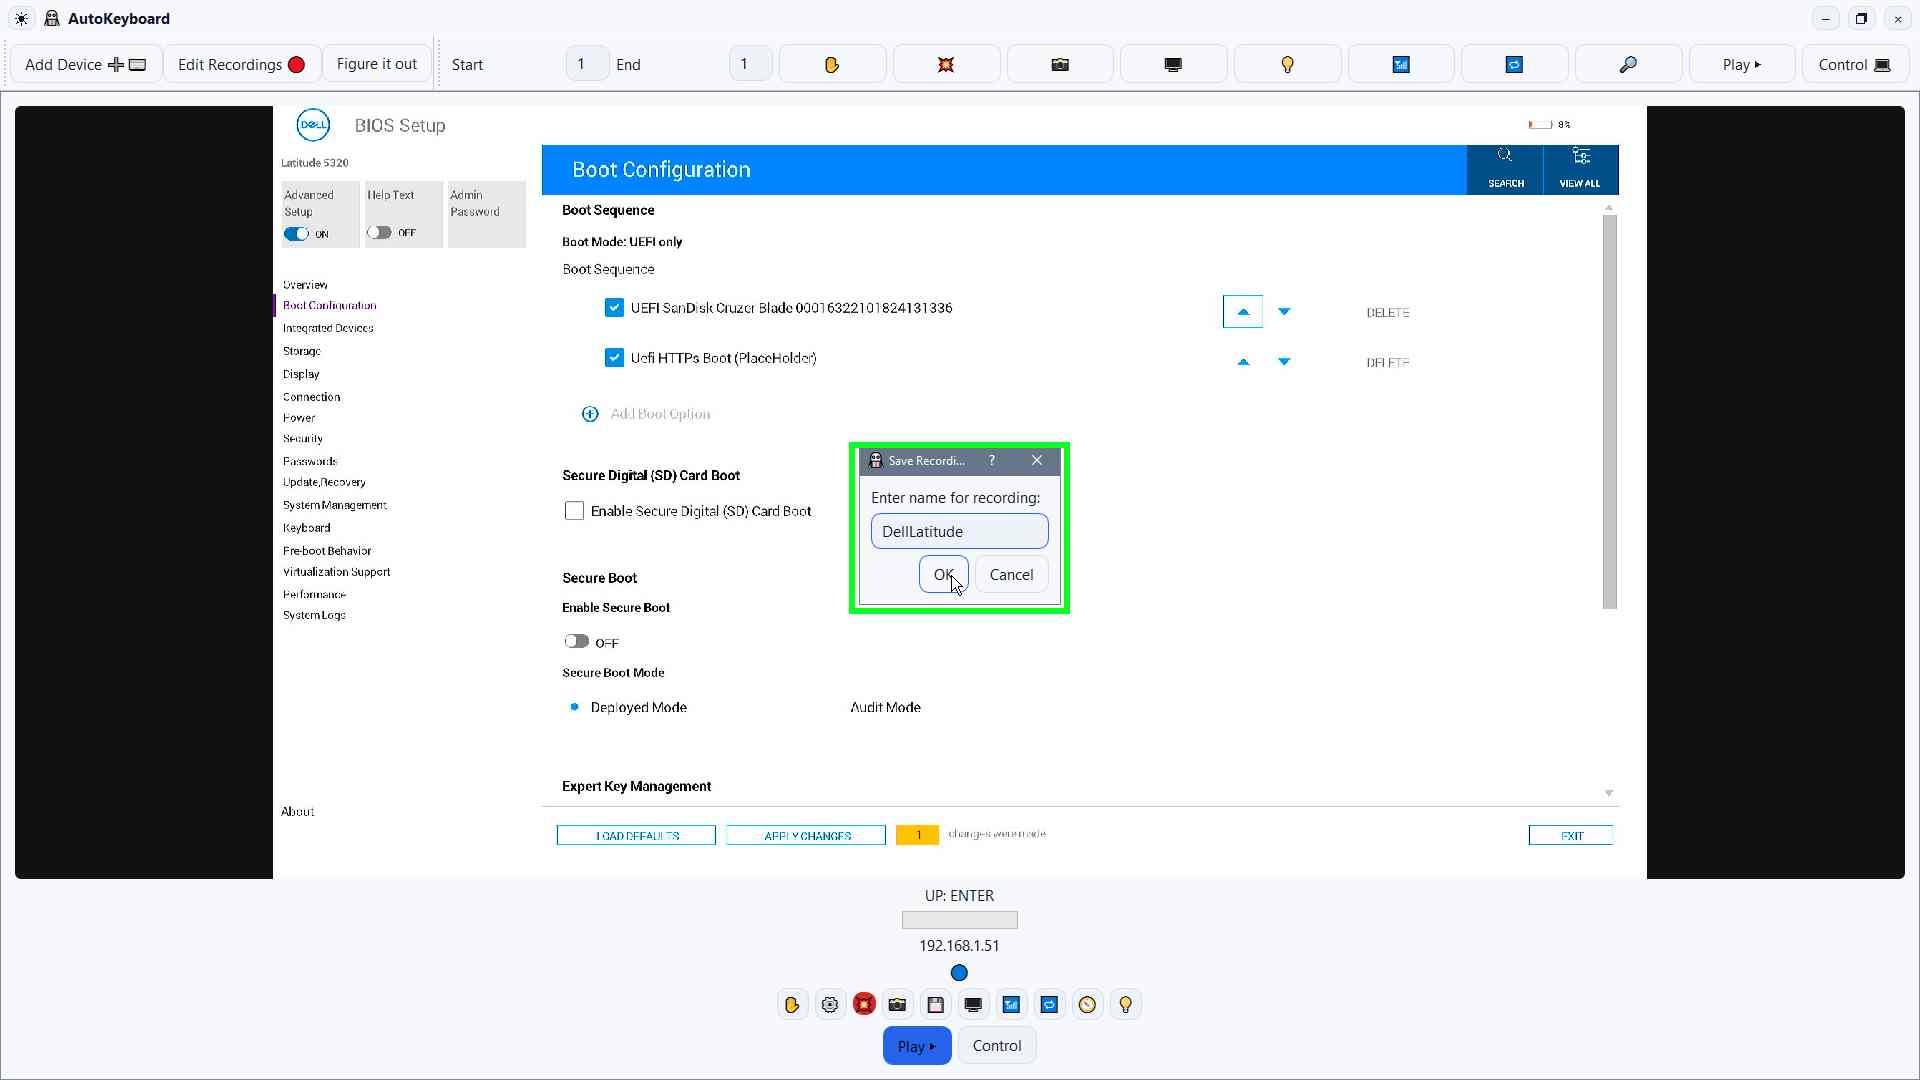
Click 💾
User left click on "💾 (button)" in "AutoKeyboard".
Enter a recording name
User keyboard input on "Save Recording (window)" in "Save Recording".

Confirm and save
User left click on "OK (button)" in "Save Recording".
Recording tips
Small habits that make replays stable across many devices.
Timing discipline
- Wait for the screen, not guesswork.
- Avoid double-taps unless required.
- If video is delayed, wait for the next frame.
Naming and versioning
- Use model families.
- Keep one "golden" recording.
- Version only when needed.